Hestia CP - Complete Guide: Installation, Setup and Management
Do you need a convenient tool for server administration? Use Hestia – a modern server control panel based on the Linux operating system.
What is Hestia?
The Hestia Control Panel is an administration panel designed to manage servers through an intuitive web interface. The panel allows you to perform many IT-related server settings or host management actions with just a single click. No administrator knowledge is required – everything is designed to be intuitive.
Key Features of Hestia
Here’s the main information:
- GPL v3 License (free to use).
- Support for various types of VPS.
- Built-in file manager.
- Integration with mail services and various databases.
- SSL support.
It’s a convenient administration tool with several advantages.
Why Choose Hestia?
By using Hestia CP, you gain:
- Convenient and easy server control.
- The ability to easily configure server services without prior system administration experience.
- Task automation, such as package and component updates.
- Server status monitoring (including physical systems).
- Support for add-ons and CMS for websites on the server.
- Localization in popular languages, including Ukrainian.
And this is not an exhaustive list of reasons to choose the Hestia control panel for your work. Moreover, its installation and setup are straightforward and understandable even for beginners. Our guide will help you quickly deploy this product and start using it.
Installation and Configuration of Hestia Control Panel
Installation Instructions for Hestia CP
Here’s what you need to do initially:
- Add a few packages to your distribution using the terminal (via sudo) with the following commands:
# apt update# apt list --upgradable# apt upgrade# apt install lsb-release htop net-tools
- Connect to your VPS via SSH with root privileges.
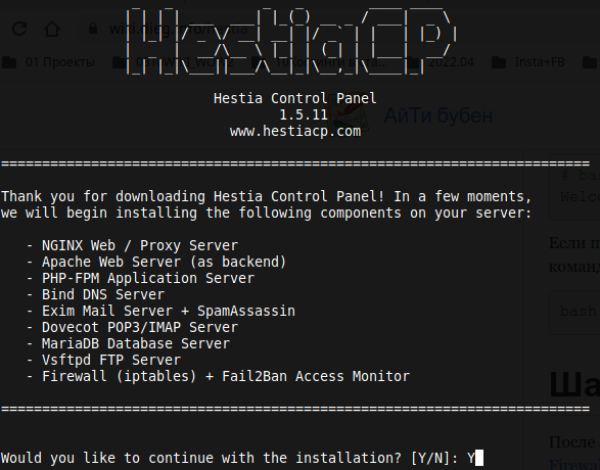
- Download the Hestia Control Panel installation script via the terminal:
wget https://raw.githubusercontent.com/hestiacp/hestiacp/release/install/hst-install.sh
- Run the script:
codebash hst-install.sh- Follow the instructions of the text installer.
- Save the generated login data in a secure place.
- Reboot the server and system.
- Now you can proceed with the basic setup of the Hestia panel.
Initial Configuration of Hestia CP
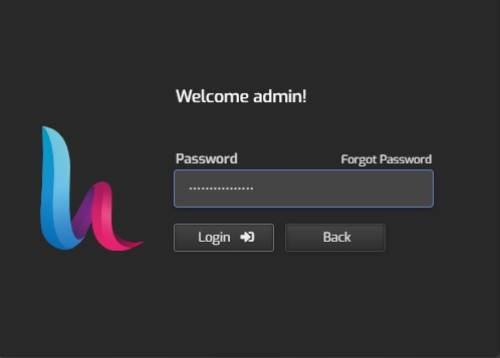
After logging into the control panel, you will see the basic interface of the IT solution. We recommend disabling automatic updates immediately. It’s better to update the panel version after full configuration and system backup.
You can further configure the firewall, switch PHP versions, and more. However, if you lack experience in such operations, it’s advisable to delegate these tasks to professionals. This way, you’ll save time, effort, and money.
Basic Operation of the Hestia Control Panel
Main Interface of Hestia Control Panel
Upon logging into Hestia CP, you will initially be directed to the dashboard, where you can monitor the status of your servers and websites, as well as receive detailed reports.
The navigation menu is designed so intuitively that understanding it will be a task for just one evening.
Managing Domains in Hestia Panel
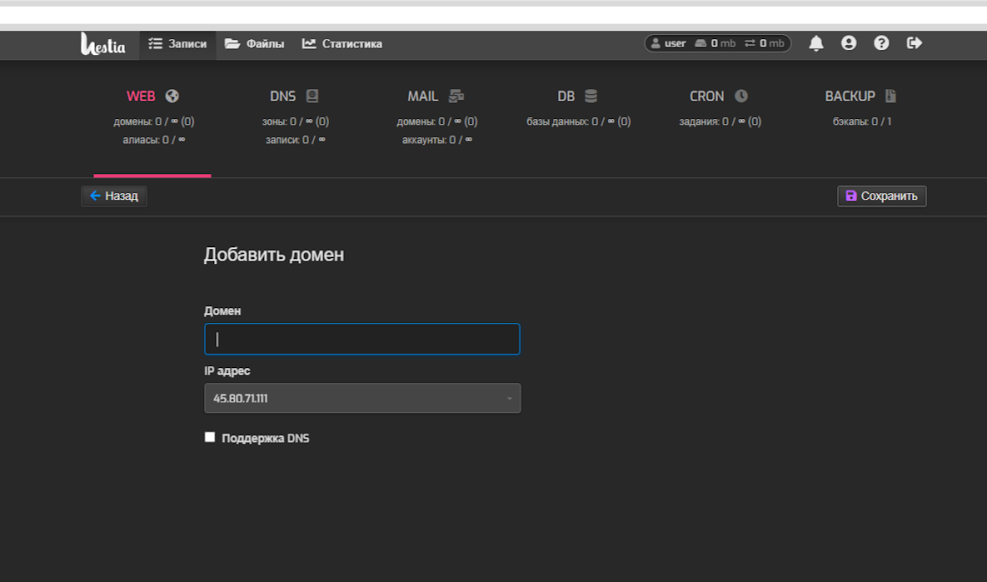
In the “WEB” menu, enter the domain under your control to add a site to the administration panel.
Managing Email in Hestia Panel
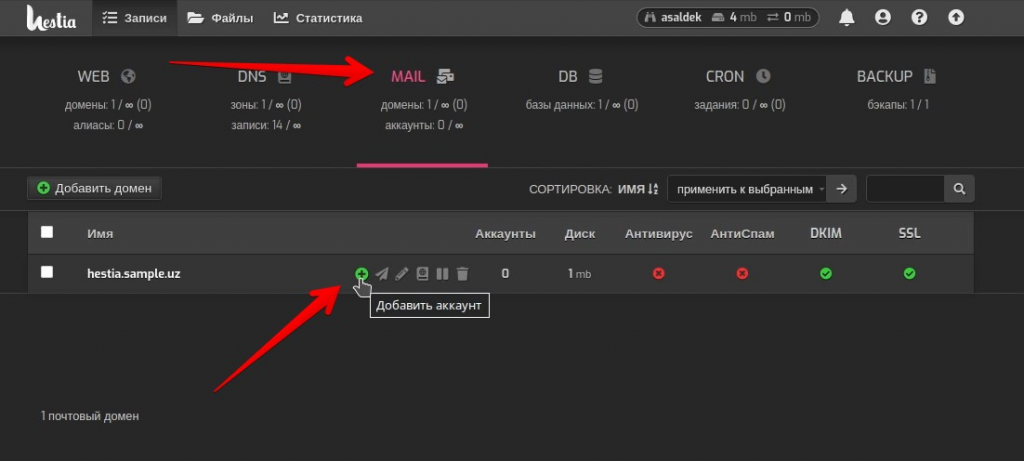
In the “MAIL” section, connect an account to your domain. Here, you can also set mailbox capacity quotas and forwarding. After this, you can start using your new email inbox.
Working with Databases in Hestia
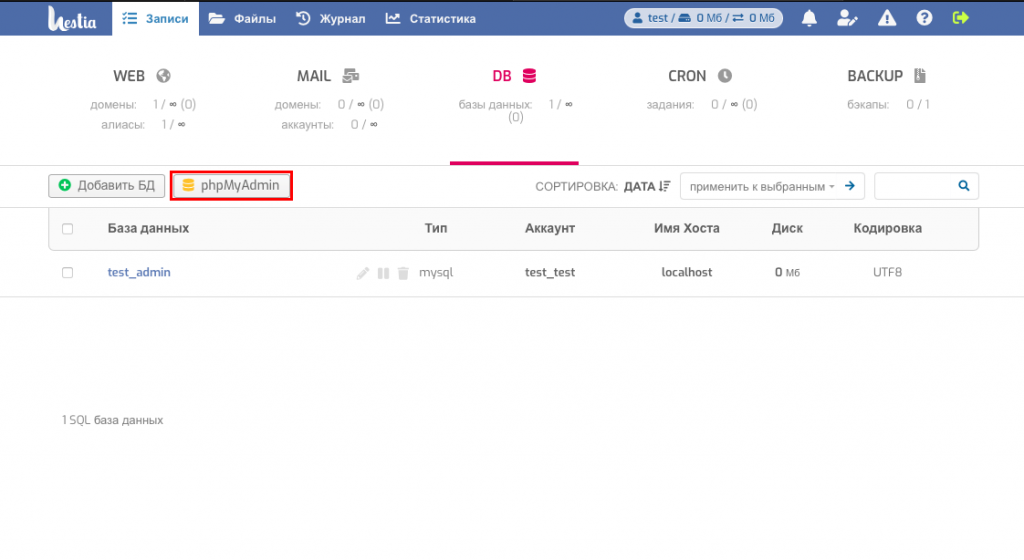
Hestia PHPMyAdmin: Introduction and Basics
To access a ready-to-use database, you need to enter the domain in the format “http://example.com.ua/phpmyadmin” or “http://server-name.host.com.ua:8083” if you want to use the DB section directly in the Hestia Panel.
Creating and Managing Databases in Hestia PHPMyAdmin
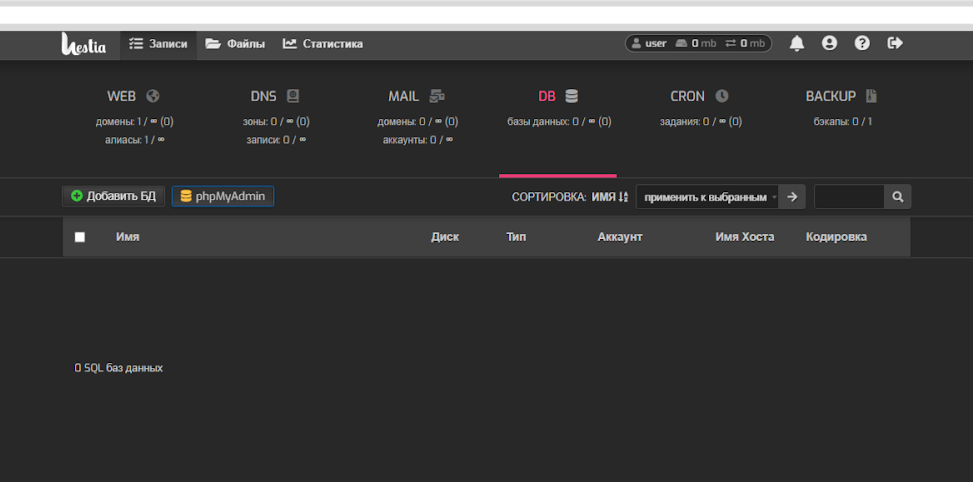
In the “DB” section, click “Add,” then follow the prompts and fill in the form. Afterwards, you can proceed to manually configuring the database or importing a pre-existing one to the server.
Backing Up Databases in Hestia PHPMyAdmin
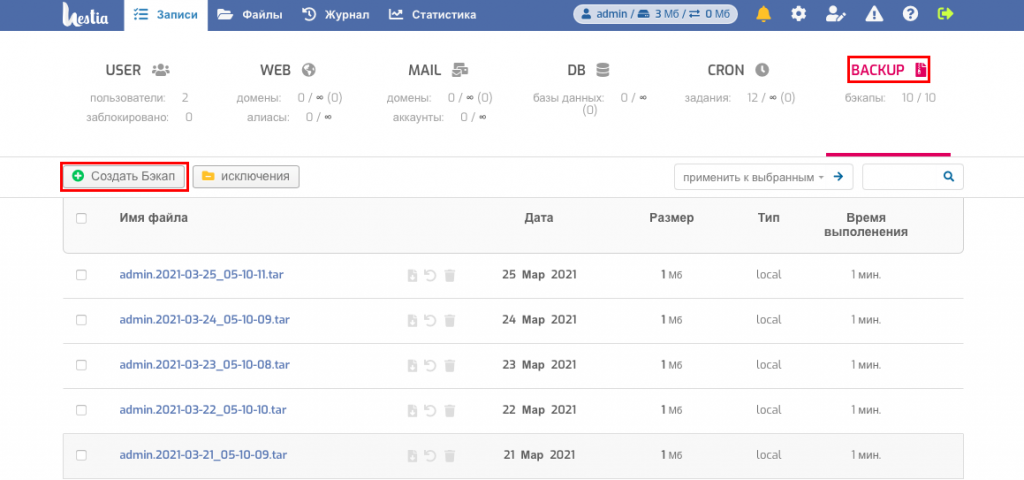
The most convenient way to initiate a backup is directly from the Hestia Dashboard using the appropriate menu. Here, you can also configure the backup frequency, data types to copy, and exclusions. Restoration is performed in the same menu for all components or for a specific one, such as Hestia phpMyAdmin DB.
Advanced Features of the Hestia Control Panel
Security Configuration in Hestia CP
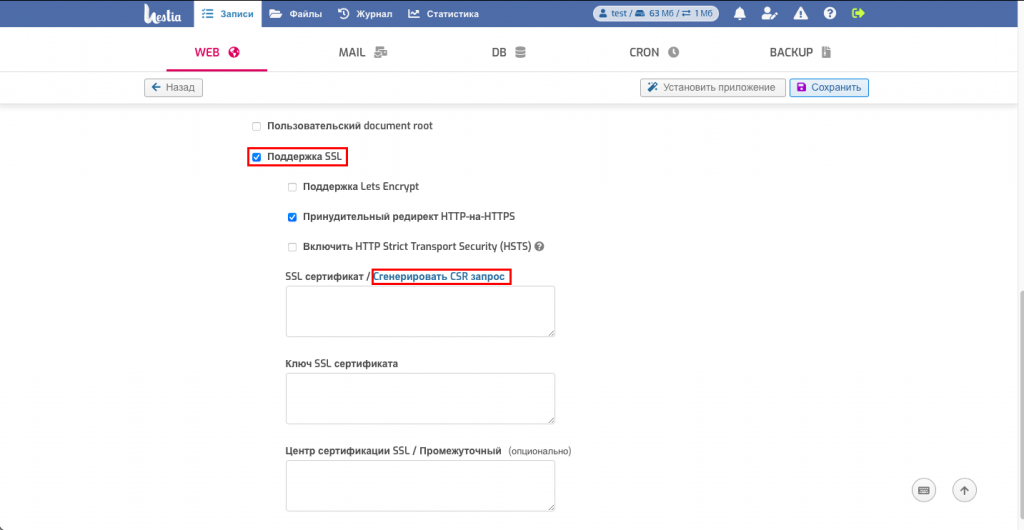
In addition to configuring the firewall, you can activate SSL and HTTPS to enhance domain and server security. For this, you’ll need OpenSSL, where the certificate is generated via the terminal command “openssl req -x509 -newkey rsa:4096 -keyout key.pem -out cert.pem -nodes -days 365 -subj ‘/CN=localhost’.”
Next, switch to the “WEB” tab and input the received certificate information or generate a new Certificate Signing Request (CSR). Then, in the same section, activate forced redirection from HTTP to HTTPS.
Integration with Other Services Using Hestia Panel
You can install third-party extensions for your system as long as your PHP version supports modules. Visit the home site of the service you need to integrate and use the provider’s native instructions.
Configuration and Management of Cron Jobs in Hestia
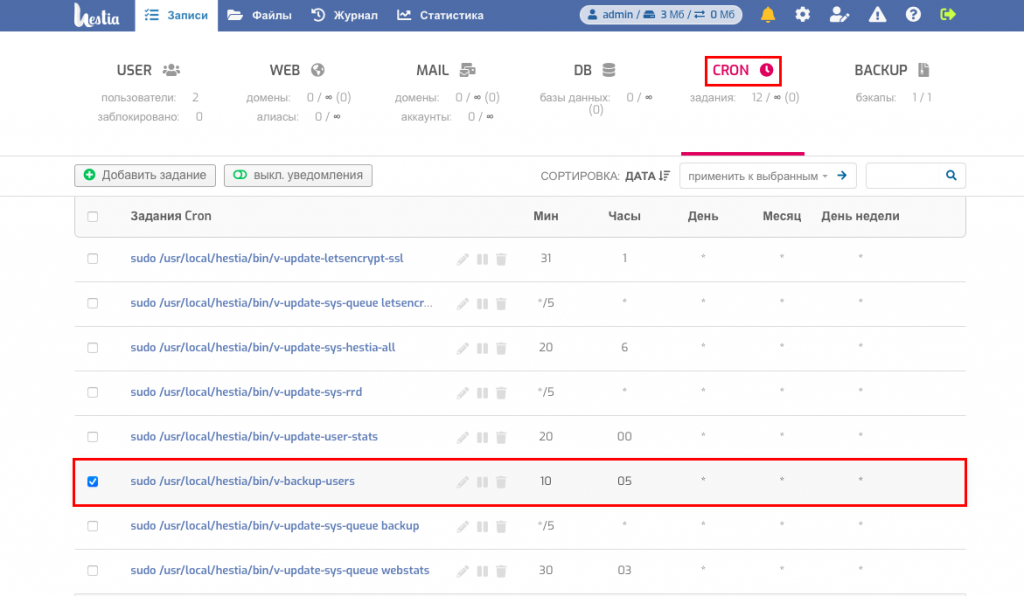
Open the Cron menu in the main panel window, then click “Add.” Here, you can use default or custom tasks and configure the frequency of executing specific programs.
Conclusion: Review of Hestia Control Panel
Advantages and Disadvantages of Hestia
Advantages include:
- Ease of panel configuration.
- Free distribution model.
- Server administration flexibility.
- Stable operation.
- Ease of system maintenance.
The disadvantages of the panel are subjective and depend solely on your requirements.
Questions and Answers about Hestia
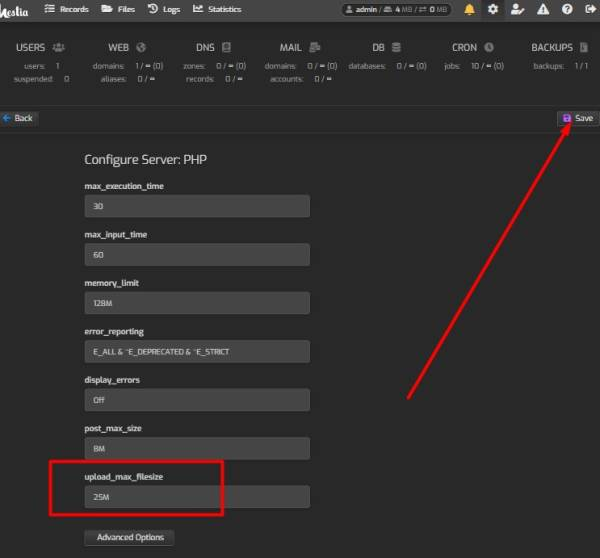
How can I change the maximum file upload size to the server?
You can do this either through the “php.ini” file or through server settings, specifically PHP. You’ll need the “upload_max_filesize” line, where you can specify any file size.
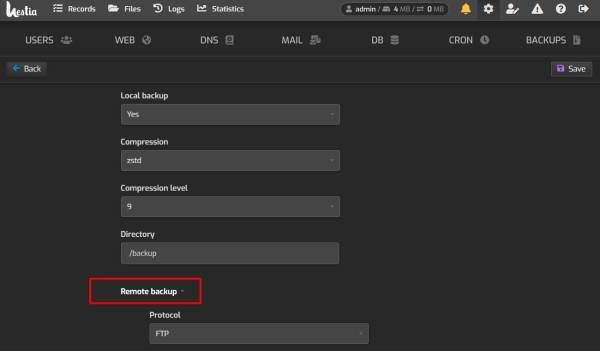
Backup via FTP: How to set up remote backup
Configure the server connection, then go to the backup section, specifically remote backup. Here, enter the server data, account, and directory location with the information. You can also set up automatic backup rules through CRON.
Can I reset the password to access the panel?
Yes, use the command “/usr/local/hestia/bin/v-change-user-password USER.”
Understanding how complex this process can be, we offer you the option to get a ready-made VPS server with the Hestia control panel installed and configured. If necessary, our support can help configure the system to your individual needs.

Have questions or want to test our services?
Just contact our manager
